Skip to Main Content
Hours: Mon-Fri: 8:00am - 5:30pm
(248) 693-7060
Home
About Us
Gallery
Services
Auto Repairs
Fleet Maintenance & M-DOT Inspections
Commercial Repairs
Tune Ups & Diagnostics
Engine Trans, & Timing Chain Service
Why Choose Moto Medic
Locations
Lake Orion
Clarkston
Oxford
Contact Us
Home
About Us
Gallery
Services
Auto Repairs
Fleet Maintenance & M-DOT Inspections
Commercial Repairs
Tune Ups & Diagnostics
Engine Trans, & Timing Chain Service
Why Choose Moto Medic
Locations
Lake Orion
Clarkston
Oxford
Contact Us
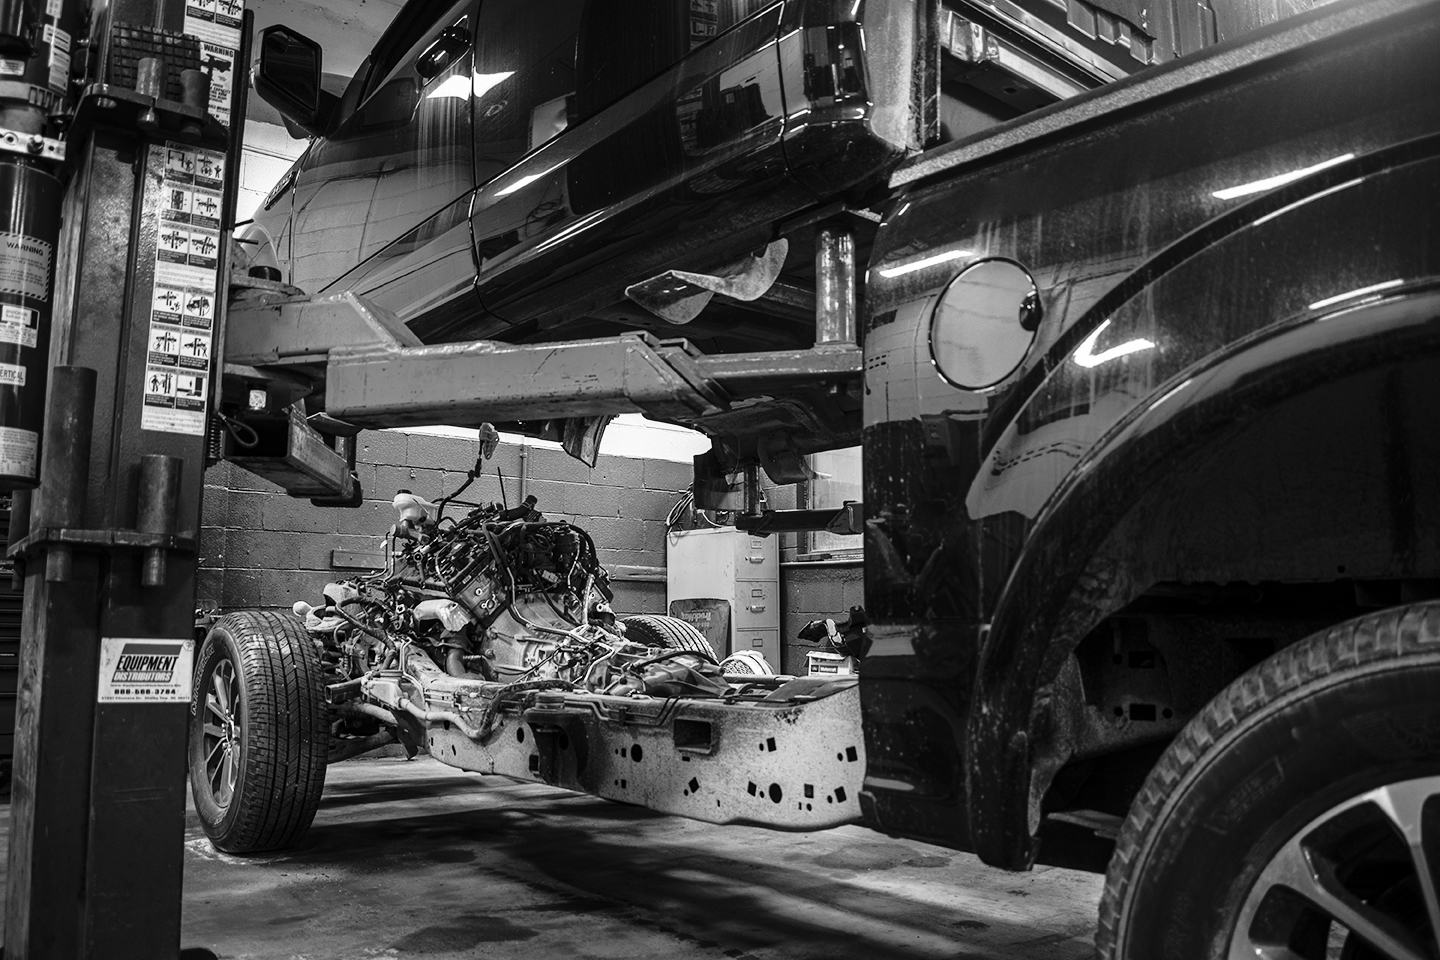
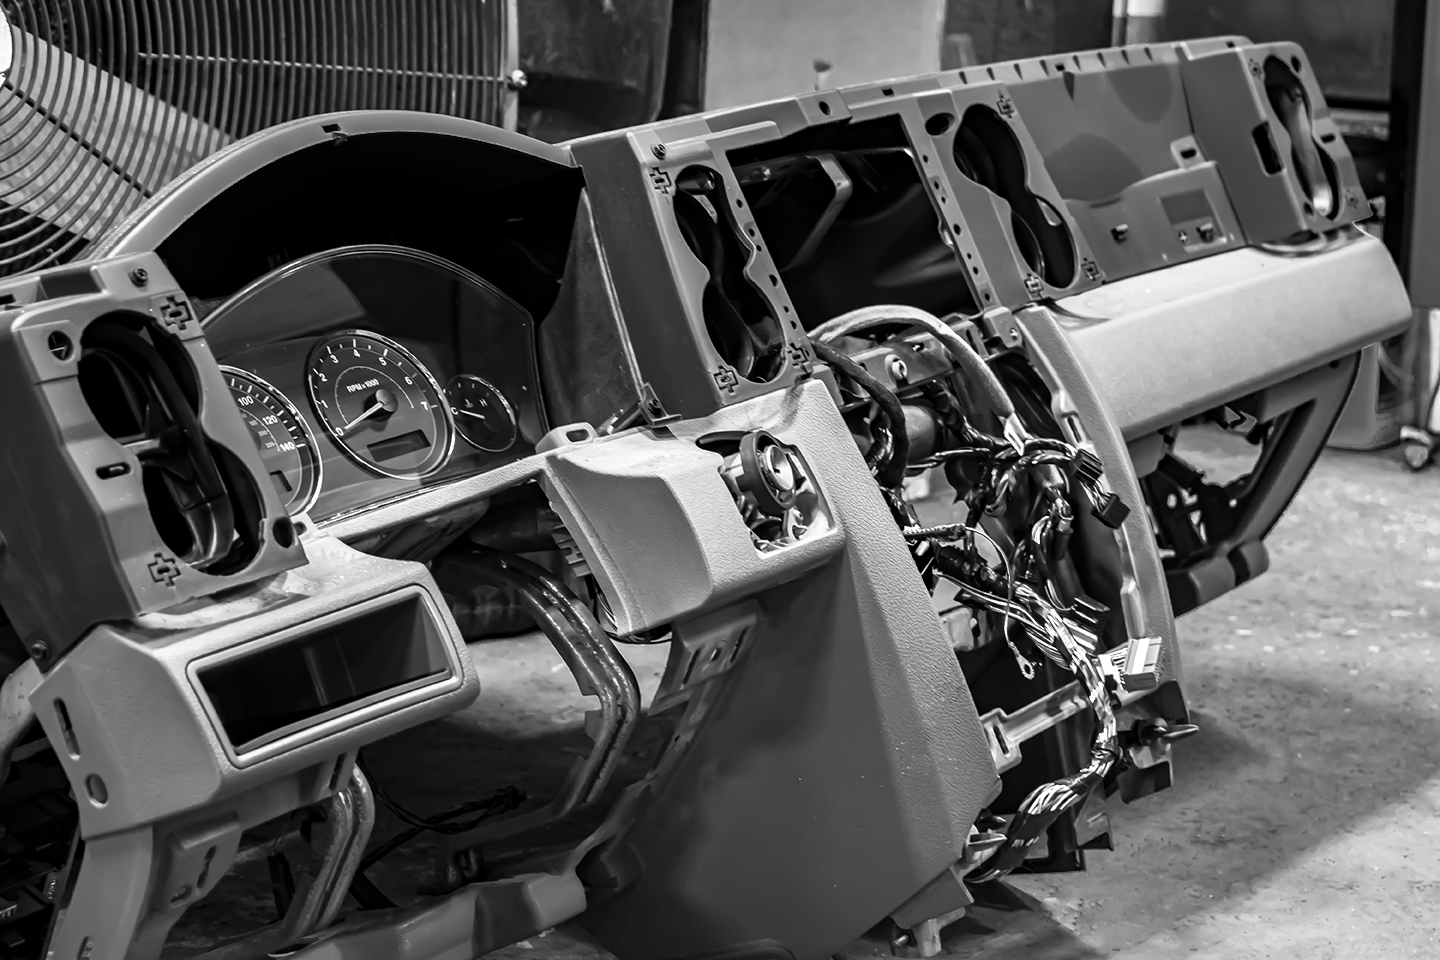
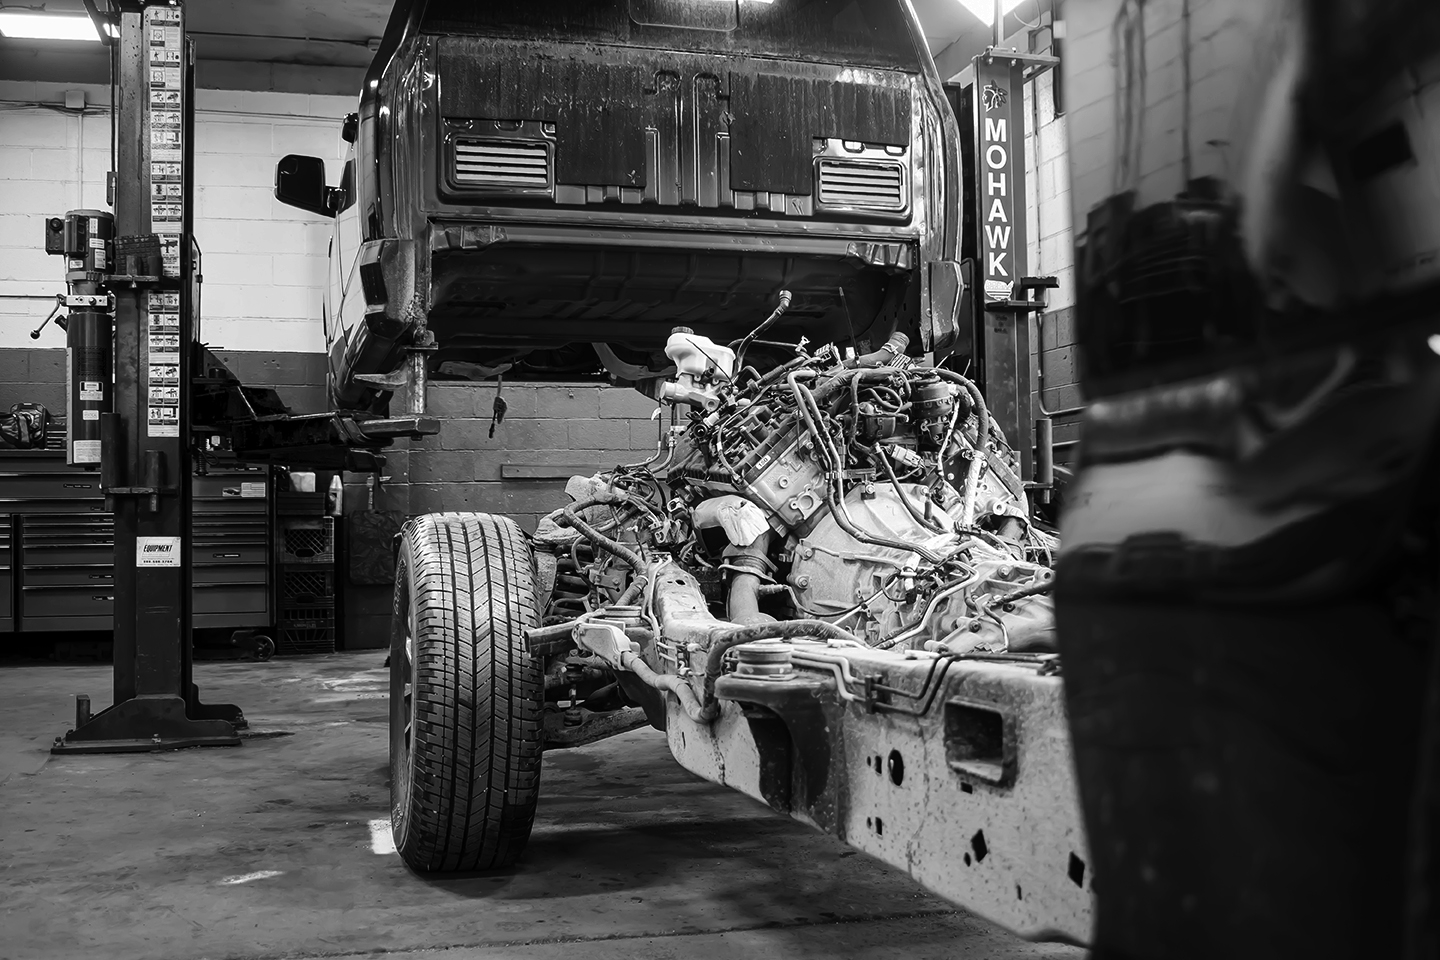
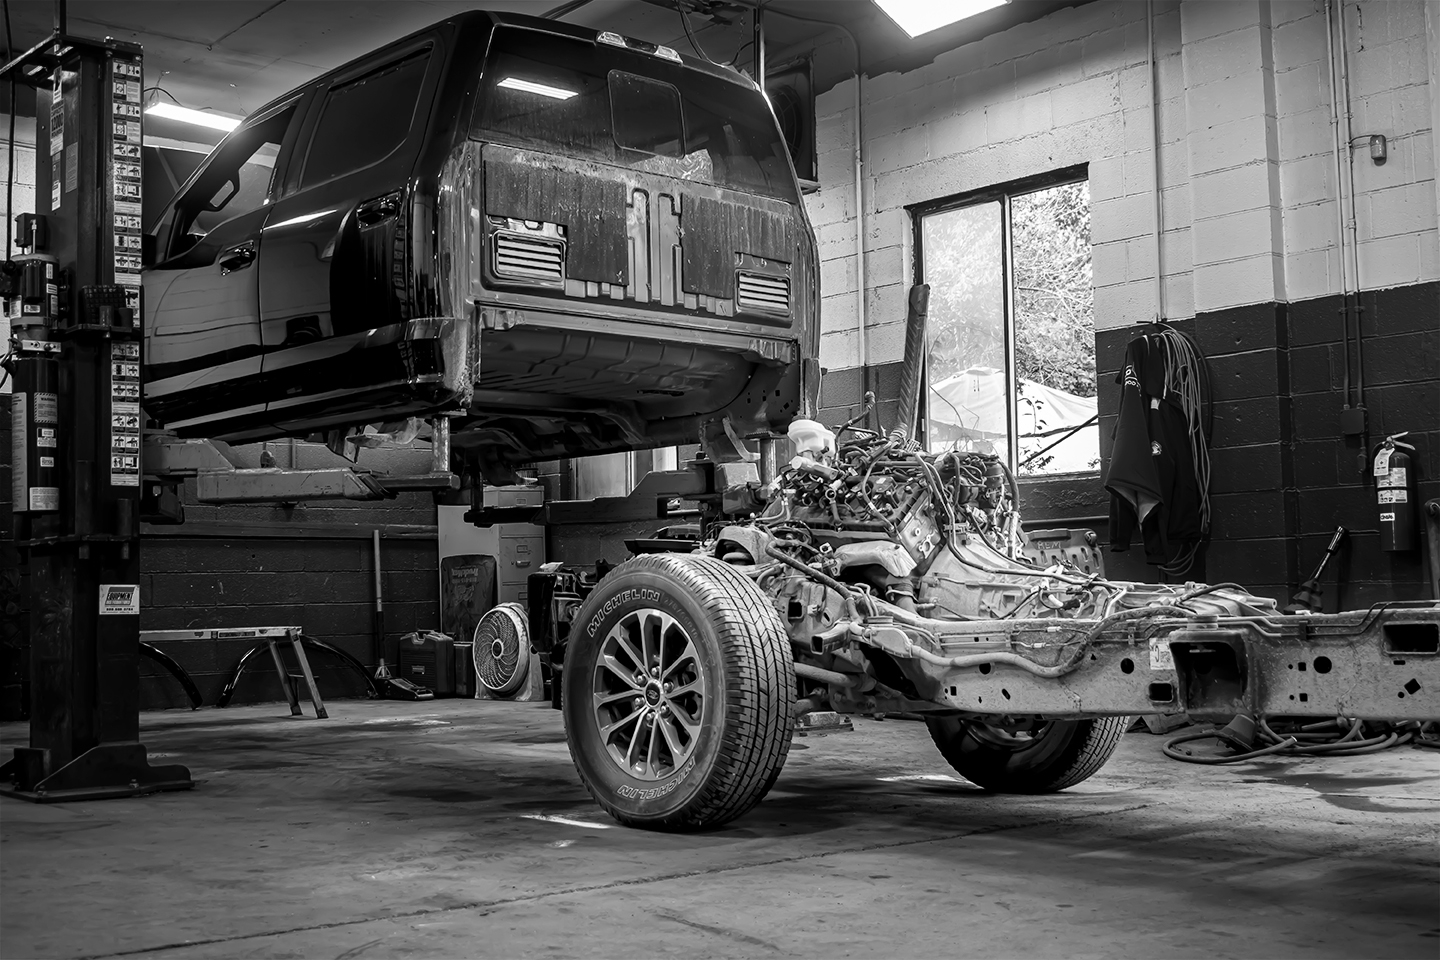
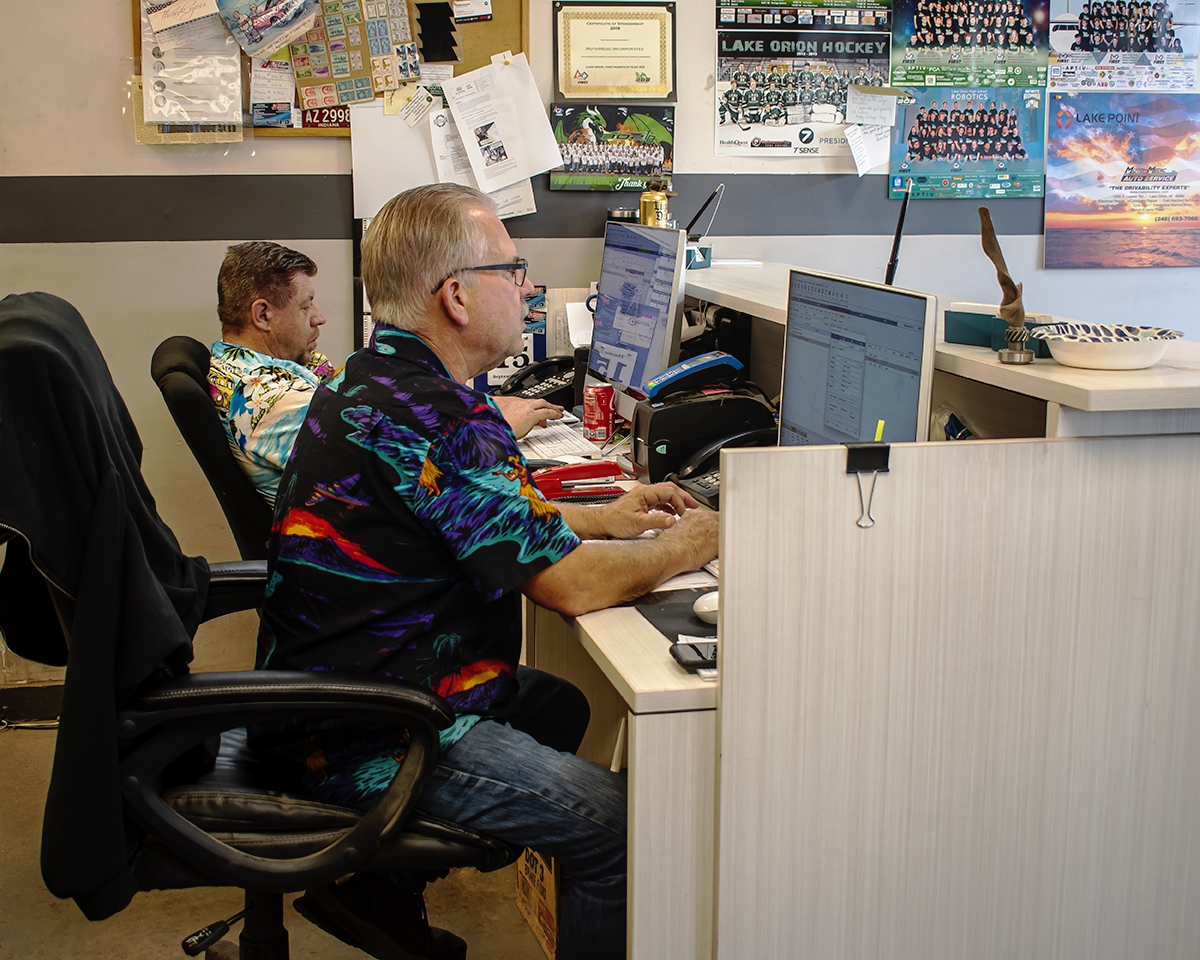
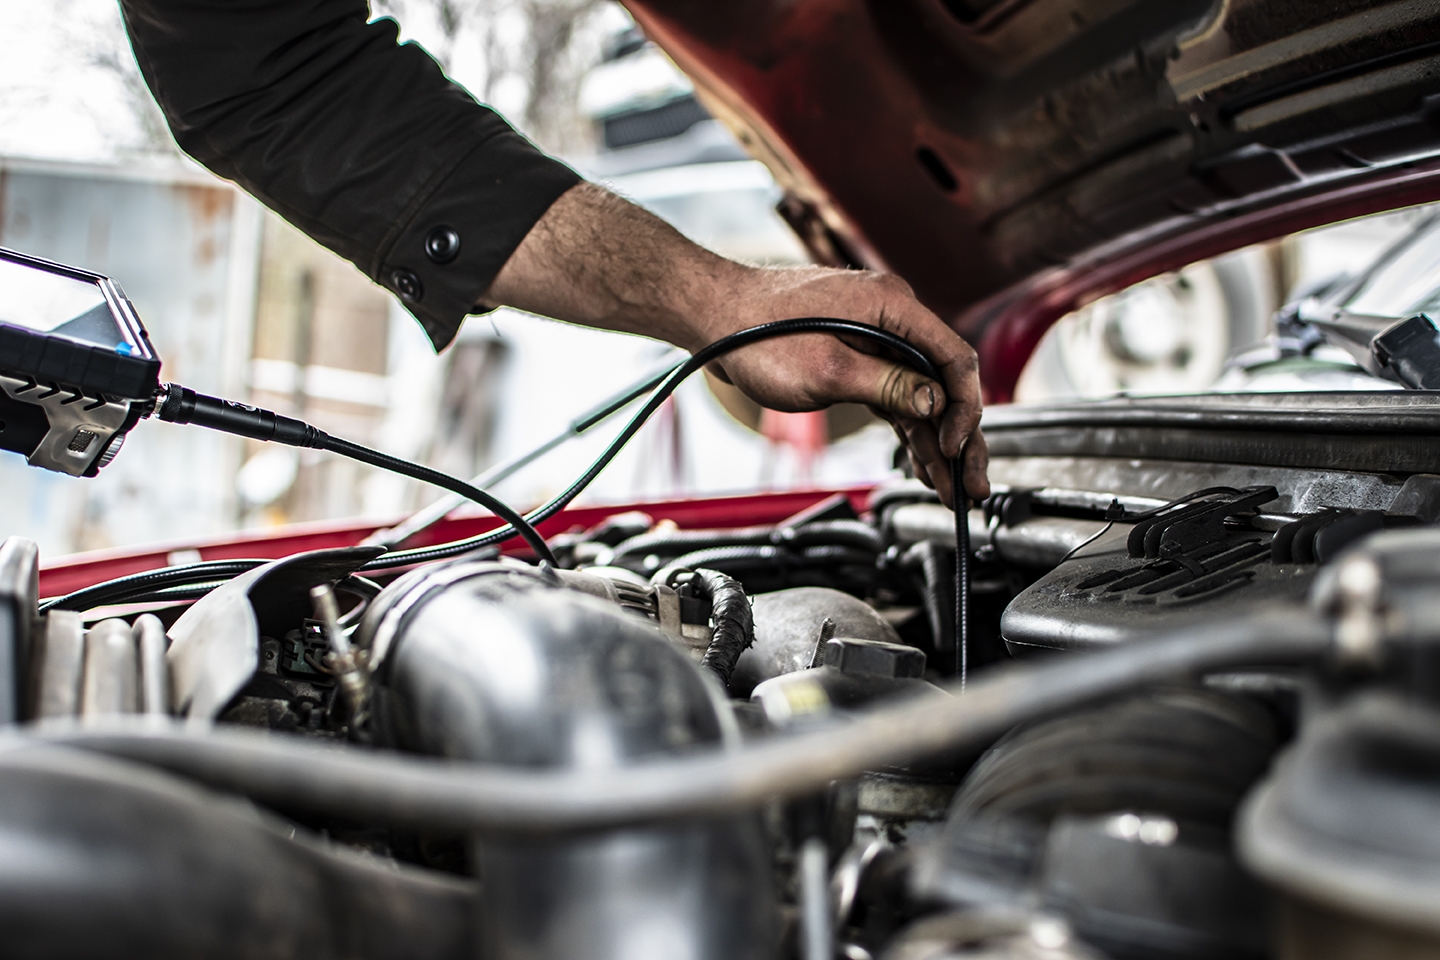
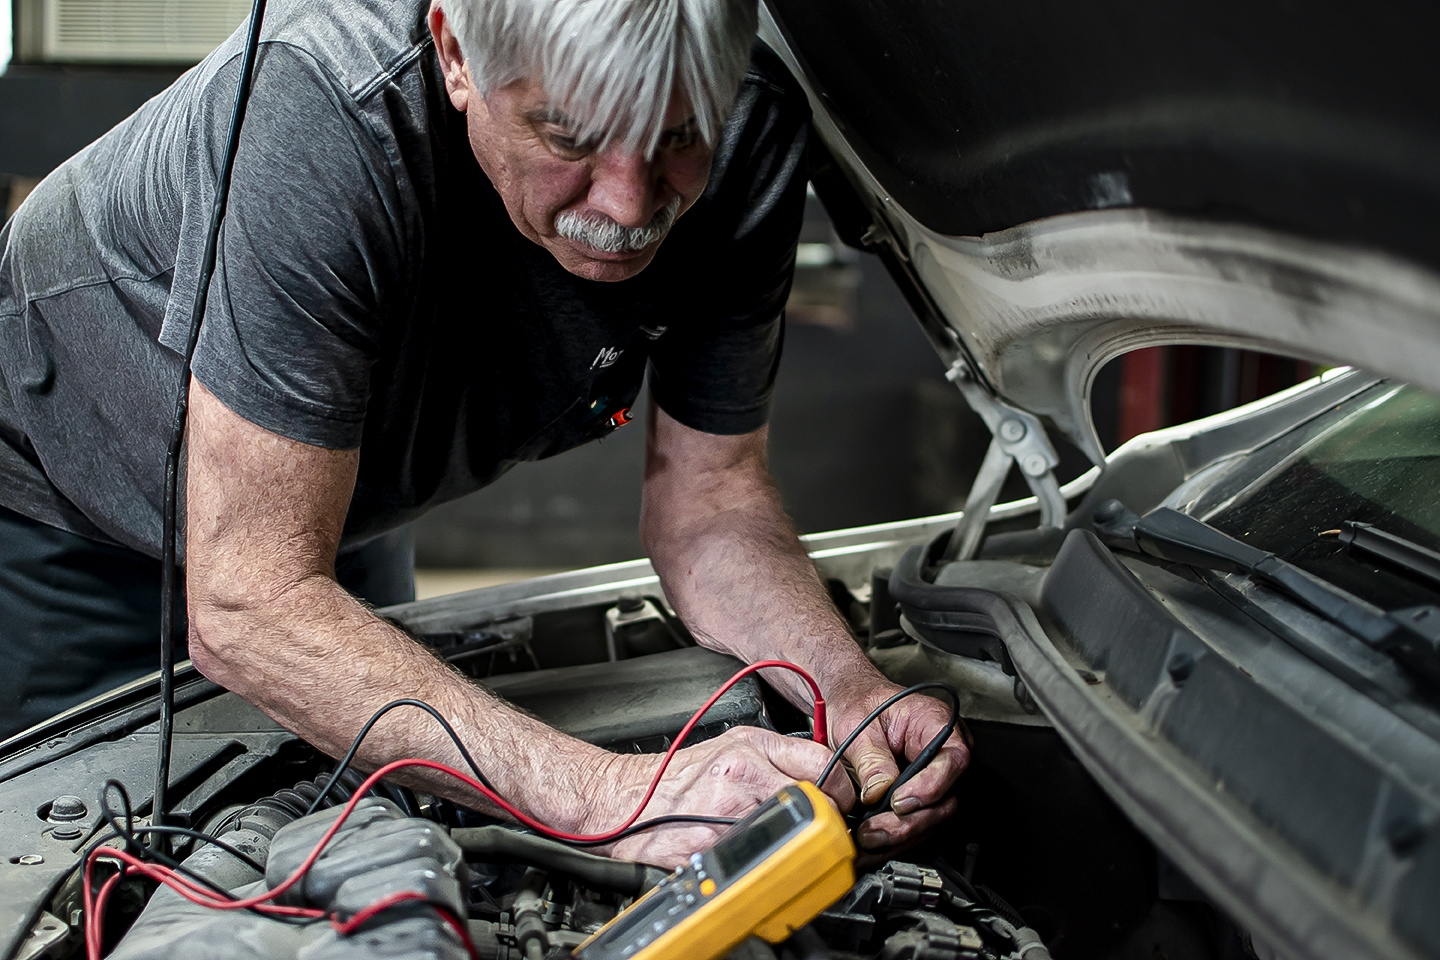
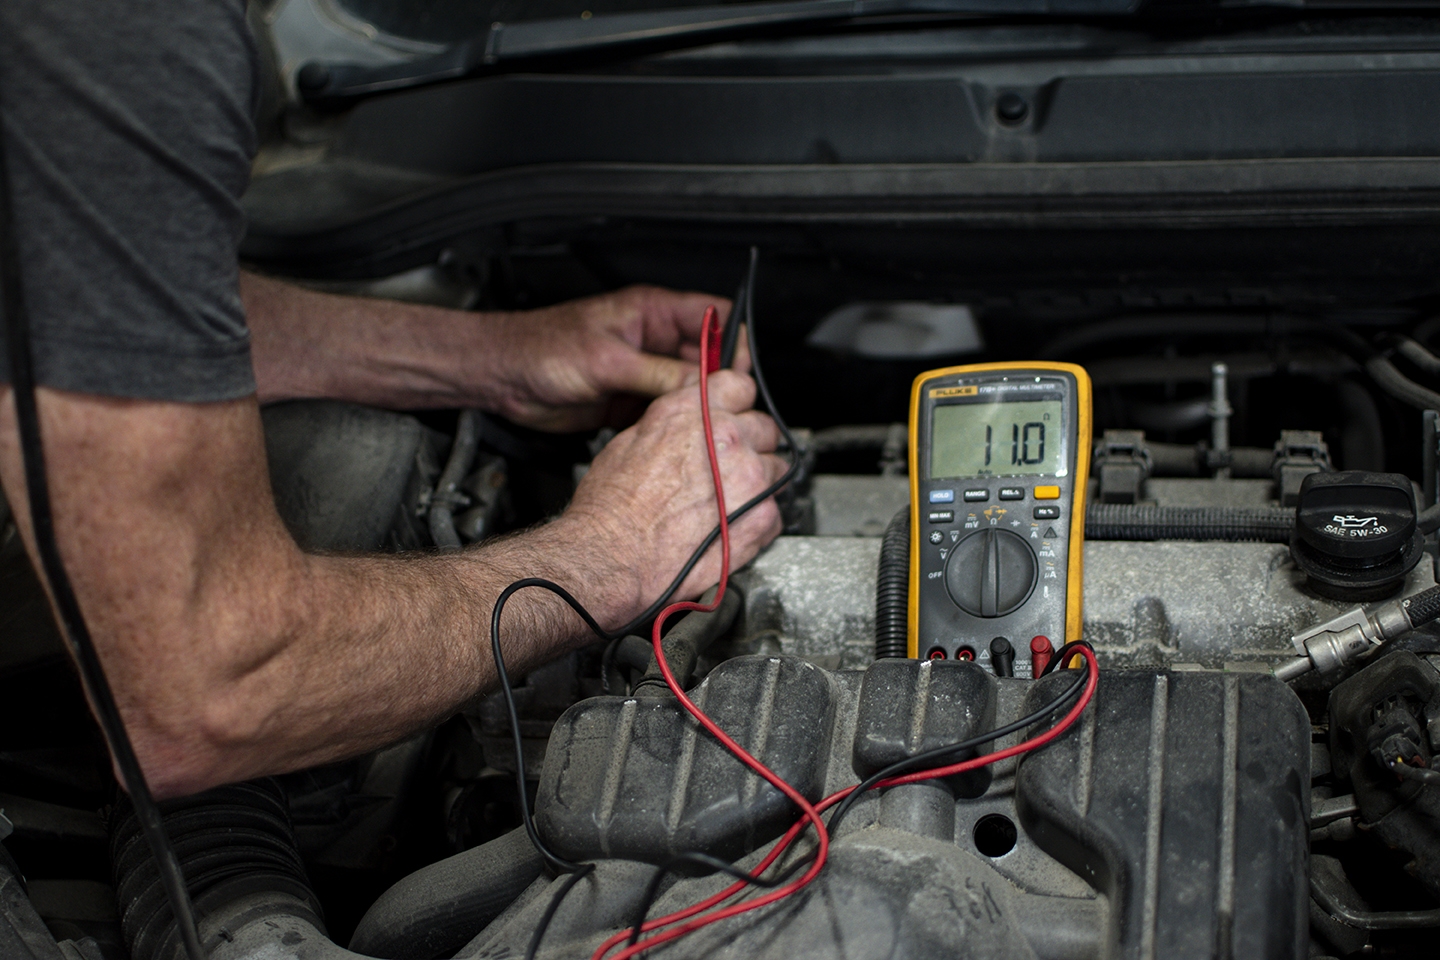
Gallery